
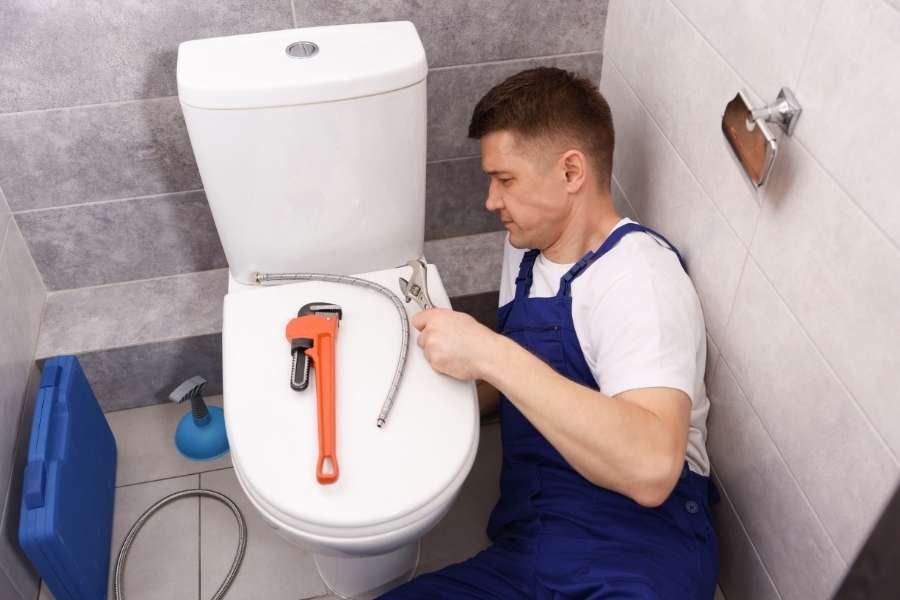
Hearing your bathroom tank refill constantly late at night gets annoying fast. That subtle running sound means water drains directly into the bowl. Your monthly water bill spikes quickly if you ignore this issue. Luckily, you do not need an expensive plumber for this job. You can fix a running toilet yourself in just a few minutes.
Understanding How Your Toilet Tank Works
Take off the heavy porcelain lid and look inside the tank. The mechanical setup looks simple once you see it in action. Pushing the flush handle lifts a small chain. That chain pulls up a flexible rubber flapper replacement seal at the bottom. Proper home upkeep is essential, much like scheduling heating and air McDonough GA seasonal maintenance to keep all systems running smoothly.
Water rushes down to clear out the porcelain bowl. As the water drains, the heavy flapper drops back down. It shuts the opening so the tank can fill up again.
Next, the fill valve opens up to send fresh water inside. A floating plastic ball or cylinder rises with the water level. Once it reaches the top, it shuts off the water flow.
When your unit runs continuously, one key part usually fails. Understanding these basic mechanisms makes any toilet repair quick and simple.
| Common Tank Component | Primary Function | Main Failure Sign | Fast DIY Solution |
| Rubber Flapper | Seals the bottom flush drain opening | Continuous trickling noise in bowl | Install a flapper replacement |
| Water Fill Valve | Refills the tank after each flush | Constant soft hissing sound | Adjust float height or replace unit |
| Float Mechanism | Triggers valve shut off point | Water levels rise far too high | Learn how to adjust water level in toilet tank |
| Overflow Tube | Prevents tank overflow into the bathroom | Water pours straight down tube | Lower tank float height setting |
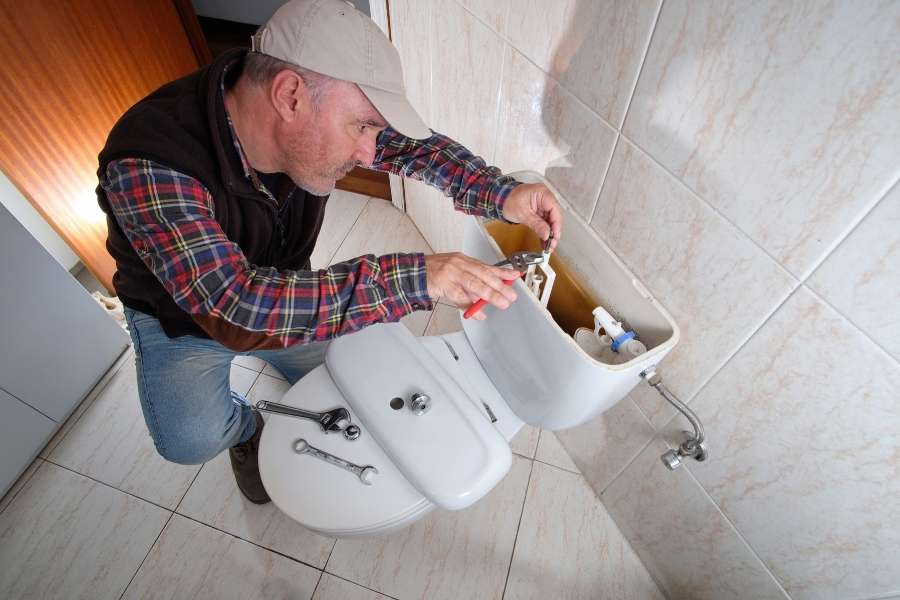
Step 1: Inspect the Chain and Rubber Seal
First, check the short metal chain inside your tank. It connects your flush handle to the bottom rubber seal. Preventive checks prevent sudden equipment failures, avoiding major commercial HVAC problems building owners often face in larger properties.
If the chain stays too tight, it holds the seal open. Water leaks continuously down into your bowl below.
If the chain stays too loose, it drops under the seal. That prevents a tight closure after you flush.
Adjust the chain hooks on the handle arm. Leave about half an inch of slack for proper movement.
Make sure the chain hangs straight down without twisting up. This simple fix solves many common bathroom maintenance problems instantly.
Step 2: how to adjust water level in toilet tank
Look closely at the water line inside your tank. It must sit about one inch below the overflow pipe.
When water reaches the top edge, it continuously spills over. That keeps your valve running without stopping.
Find the plastic adjustment screw on your valve unit. Turn it clockwise with a screwdriver to lower the float.
If you have a vertical cylinder float, slide its metal clip down. Test the new level by flushing the tank once.
Proper height control prevents an annoying water leak instantly. This quick step preserves water and keeps your home quiet.
Step 3: Clean or Install a flapper replacement
Turn off the shut-off valve on the wall behind your seat. Flush the handle to drain out remaining tank water.
Unclip the flexible rubber flap from its mounting pegs. Inspect the rubber surface for buildup or warped edges.
Mineral deposits prevent the rubber seal from laying completely flat. Scrub off dirt using a soft damp sponge.
If the rubber feels hard or cracked, buy a replacement part. New universal rubber flaps cost very little at hardware stores.
Snap the new piece onto the side plastic pegs carefully. Reattach the link chain and turn the water back on.
Step 4: Address Persistent toilet repair Issues
Sometimes adjusting the float fails to stop running water completely. That usually means your internal valve seal wore out.
Shut off the main supply valve behind the toilet bowl again. Sponge out remaining water at the bottom of the tank.
Disconnect the water line beneath the porcelain tank base carefully. Unscrew the bottom locking nut holding the old unit.
Lift out the old part and place the new valve inside. Tighten the locknut firmly without cracking the porcelain base.
Reconnect your water tube and open the wall supply valve slowly. These basic steps cover common DIY plumbing fixes for leaky toilets.
| Issue Symptoms | Potential Cause | Immediate Action Needed |
| Water spills over top tube | Float height set too high | Lower float mechanism position |
| Phantom flushing every hour | Cracked rubber flapper seal | Install new universal flapper |
| Hissing sound near valve | Internal valve seal failure | Replace entire fill valve assembly |
Step 5: Test Your DIY plumbing Repairs
Turn your wall supply valve back on completely. Let the tank fill up until the float stops rising.
Check the final water line relative to the overflow tube. Confirm water stops moving one inch below the top rim.
Flush the handle twice to test the whole mechanical cycle. Watch the chain move freely without catching on other parts.
Listen closely for any lingering trickling sounds in the bowl. If everything stays quiet, your repair work is complete.
Checking these basic components regularly ensures long-term system reliability. You just saved time and money using simple home tools.
Knowing When to Call a Professional
Most tank issues take less than thirty minutes to fix. You do not need expert skills for basic parts replacement.
However, inspect the porcelain exterior for hairline stress cracks. Leaks around floor bolts require deeper structural attention immediately.
If your brass wall shut-off valve leaks, call a professional. Stopping active water flow protects your subfloor from costly damage.
For standard internal tank leaks, DIY fixes work exceptionally well. You can handle most everyday maintenance jobs with confidence.
Frequently Asked Questions About Running Toilets
how to troubleshoot a constantly running toilet tank?
Remove the lid to check chain slack, float height, and seal quality. Adjust parts or replace worn rubber components quickly.
What tools are required in a step by step guide to replacing a toilet flapper?
You need no special tools. Keep a towel handy alongside a cheap replacement rubber flapper from your store.
Why does my toilet turn on and off automatically?
Water leaks slowly past a degraded bottom seal into your bowl. The valve turns on briefly to refill lost water.
How much water does a continuous tank leak waste daily?
A leaking tank wastes hundreds of gallons of clean water daily. Fixing it quickly protects your budget and prevents waste.
